We were walking through the field when she said it. "Mommy? Do you know that we don't care if we get a tree here?" They just like to be there, at the tree farm. Do the ride on the wagon, see the trees, drink hot chocolate, sit on Santa's lap. The tree isn't a big deal. So after trekking through the field for 30 minutes and hunting for a tree that made us all happy and wouldn't cost a million dollars, while we grumbled and listened to other families squabble about which tree to choose, we all broke into smiles when she said it. Then we decided to head home and just put up our fake tree that was already waiting for us in the basement. We did what we wanted to do - had breakfast at the spot near the tree farm, visited, bundled up, spent the morning together. The actual tree was just an afterthought in the grand scheme of it all. Sometimes I need reminders like that. It's not about the thing, it's about memories and traditions and time together.
Showing posts with label Christmas decorations. Show all posts
Tree Day
Wednesday, December 18, 2013
Labels:
christmas,
Christmas decorations,
december,
elizabeth farms,
holidays,
tree cutting,
tree farm,
tree farm lancaster pa
loading..
Merry Making: DIY Glitter Letters
Monday, December 16, 2013
This might be my favorite project so far this year. There are a ton of methods out there and I planned to spray them with glitter paint, but then I forgot to buy the spray paint and wanted to just get them done, so I used what we had.
You'll need:
Cardboard Letters (these were 50% off at Hobby Lobby and about $1.50 each, so $6 and change for tax total))
Glitter
Glue/Modge Podge
Paint Brush
Cookie Sheets
Parchment Paper
The method: Paint the surface of the letter with glue or modge podge and go nuts with glitter. Let it dry, then lift and tap off the excess. That's it!
I thought about sealing them with a spray of some sort to minimize glitter all over the place, but so far they're fine and I don't know how the letters would do with the spray. I also didn't paint the sides and backs of the letters to minimize how much glitter could get all over the place and to have somewhere to hold while I moved them, packed them away, got them out, etc. You can see that the edges aren't perfect, but I don't care at all and this was tons easier than trying to turn letters to get specific crevices and sides and having different drying times. They're fun, inexpensive and quick just like this - that's my kind of project!
Labels:
christmas,
Christmas decorations,
diy glitter letters,
glitter letters,
glittery holiday letters,
holiday decor,
holiday letters,
merry making,
projects
loading..
A Few Favorites For Saturday Morning
Saturday, December 14, 2013
A few quick favorites/links/recent phone photos. Because it's Saturday morning and my kids are with the in-laws for the weekend for a Grandparent Christmas Extravaganza and John went to a concert last night, so I didn't think he'd be up early. We were supposed to go here on a date today and I was so so so excited to finally check it out, but it's supposed to snow again, so we don't want to make the drive and get stuck in snow. So instead our date will be cleaning bedrooms and the bathroom (and it'll feel like a luxury to do it without stopping 50 times for snacks and questions and games!) and going out to lunch and I rented 4 movies at the Redbox and got steaks out for dinner and I plan to do nothing which makes me all sorts of happy.
Hope you're all having a fun weekend and doing cozy, holiday things!
What to Get For the Person Who Has Everything
I don't usually do things like these, but Heather at To London With Love was so nice to add me to her list of blogs she enjoys and it was so fun to look through hers and find some new, fun blogs that I wanted to share some favorites, too. I always feel so self-conscious answering questions about myself, so I'm cheating and skipping that part, but I wanted to be sure to share some blogs I've been enjoying lately. I also shared some here during my 31 Days of Documenting the Everyday, so check those out, too! If you're on the list, feel free to participate, too, if you feel up for it and share some of your own favorites and go visit some others! If it's not your things, no worries:)
loading..
Merry Making: An Easy DIY Wreath Tutorial
Wednesday, December 11, 2013
You'll Need:
Floral Wire
Clippers or Scissors
A Wreath Backing (wire is best for outdoors)
Greens that make you happy (I used trimmings from our boxwoods)
The method: I made bunches of the green first that were generally the same size, wrapping the bottoms as tightly as I could with floral wire, then started to assemble. I'm good at doing one thing at a time, so it felt logical to make lots of bunches, then tie them all on to see how they looked. It also feels better to show you with photos since it's not overly complicated. Tie bunches together, then tie onto the wire frame, overlapping bunches as much or as little as you want. The bigger you make your bunches and the more you overlap them all, the more full your wreath will be. Wrap them at tightly as you possible can, rearrange as needed. Accept imperfection, it's kind of the name of the game. I left mine mostly wild, but trim away if you like yours to be more neat and tidy.
p.s. Bows also weren't nearly as scary as I thought they'd be and I was sold on trying them myself when I went to Michael's and realized that I could buy one for $6.99 or an entire roll of ribbon to make at least a dozen of my own for the same price. This post and this post were the two most helpful things for me as I figured out how to make them.
Labels:
boxwood wreath,
christmas,
Christmas decorations,
diy boxwood wreath,
diy swag tutorial,
diy wreath tutorial,
easy wreath making,
easy wreath tutorial,
holidays,
merry making,
projects,
wreath
loading..
Merry Making: Past Projects
Monday, December 9, 2013
Sharing some favorite Merry Making projects from past years today. I tend to stick with projects that don't require much time and money and definitely don't require a ton of work. Enjoy and please share in the comments if you have favorite of your own to share!
I tried a few different methods and figured out a quick easy method to throw
together a treat when I need one to enjoy at home or bring somewhere!
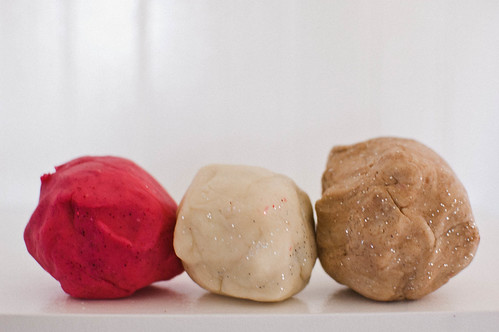
I'm pretty sure I like making our own play dough at least as much as the kids do.
It's so easy and fun and there are a million ways that you could make it
feel more holiday or winter themed.
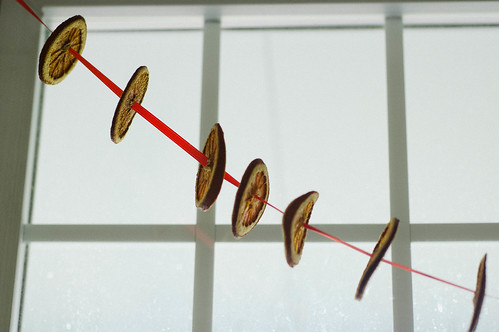
The pomanders in this post didn't work out so well, but it was error on my part
and still a project I've done again. Be sure to use enough cloves and
be sure not to burn your orange slices in the oven while they bake!
I'm not saying that you should do all of these, just throwing out some ideas!
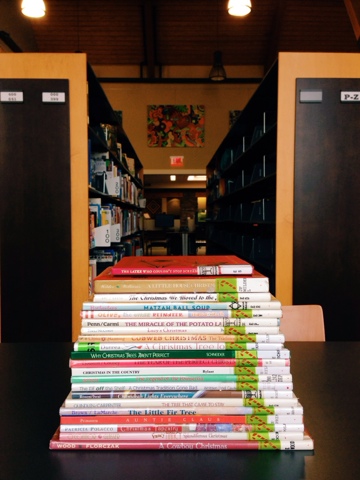
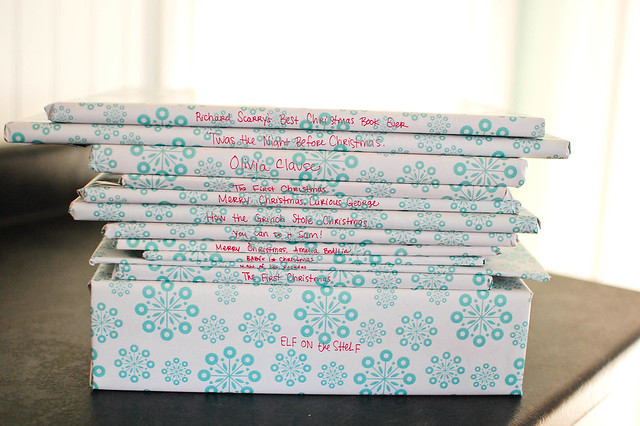
One of our favorite things to do now. We're not too strict about it, but the kids love to
try to guess what book it is (I label them for myself in case there's one I want to find)
and Mia's thinks she's super awesome this year since she can read the
titles, too, and feels like she's in on a secret.
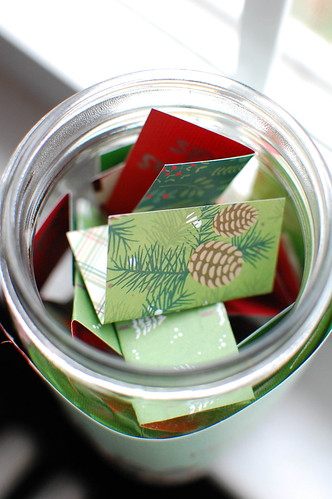
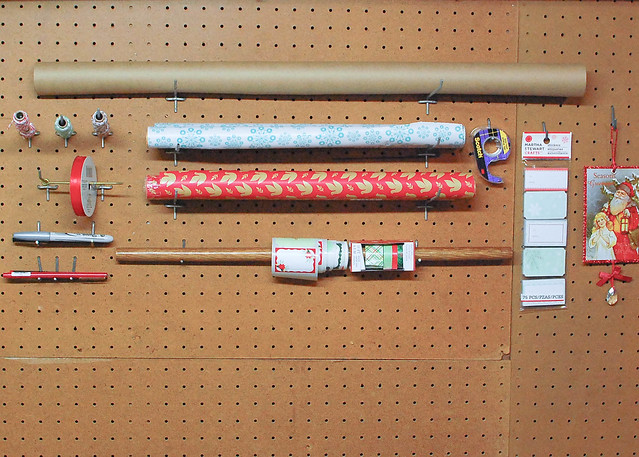
I keep this up all year round now, it's SO nice to just keep all of the paper and pens and
labels and tape and a pair of scissors in one spot and not hunt in 500 places every time
I need to wrap something!
Labels:
christmas,
christmas crack,
Christmas decorations,
cracker toffee,
dried orange garland,
gift wrapping station with pegboard,
holiday,
holidays,
merry making,
orange pomander,
projects,
saltine toffee
loading..
Have, Need, Want
Wednesday, December 4, 2013
I keep finding myself making lists that are miles long that get tucked away in pockets and corners never to be looked at again. Sometimes I'm fine with that. The physical act of writng things down is enough to help me pull my brain back to some semblance of order. But sometimes it just feels cyclical - I get out the paper, start making a list, starting adding allllllllll of the things I'd like to do, feel overwhelmed, turn the paper over and just start with one thing.
When I was feeling especially overwhelmed recently, I decided to divide my list. I know this isn't an earth-shattering idea and there are a million ways you could do it, but here's how I split it up: Have, Want, Need.
As in:
::HAVE To Accomplish (for my own sanity) - picking up medicine at the pharmacy, getting the laundry done, writing and planning for this blog and making a wreath for the front door
::NEED To Get Done (in the immediate future) - planning and making dinner tonight, work on our budget and bills, vacuum, return library books, get doormats so that everyone stops tracking everything inside, put our basement shelves back together after I tore them apart getting out Christmas decorations
::WANT To Do Soon (but won't kill me if it never happens) - make banister garland, cranberry bars, toffee and and window swags
Typically, the stuff on the Want list is what I go to when I feel so overwhelmed and know I can't accomplish everything and it's kind of become a habit. I do the things that are more fun and interesting and the stuff that needs to actually happen falls by the wayside and laundry piles up and everything is a hot mess.
So dividing things up into things I need to do to stay sane and stuff that just needs to happen helps - I look to those lists first now and it helps to keep things in perspective. My life will go on if I skip window swags, and would also go on if I don't make a wreath, but I *really* wanted to make a wreath this year just because I've never made one, so that made the list of things I need to do for my own sanity, but will still have to wait until after I get some laundry done and make a plan for dinner and make sure that our bills are planned for and our budget is rolling along how it needs to be.
How do you sort out your to-do lists? Are you a list-maker?
loading..
Subscribe to:
Posts (Atom)