Showing posts with label projects. Show all posts

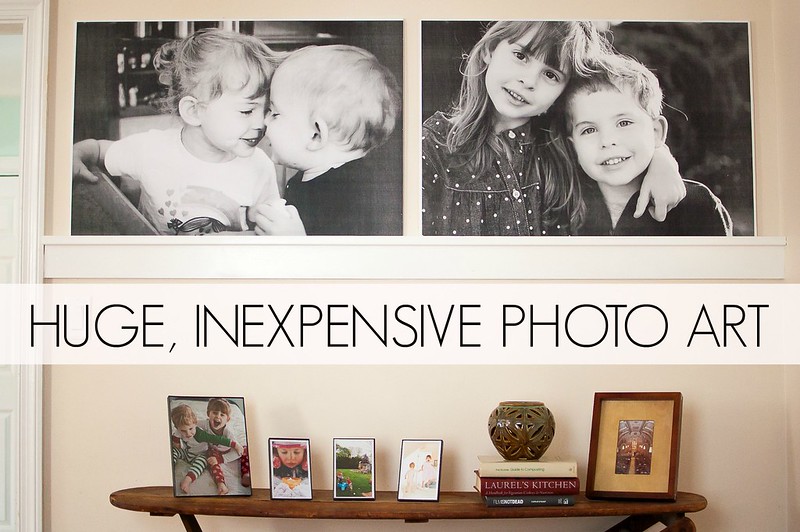
Huge, Inexpensive Photo Art


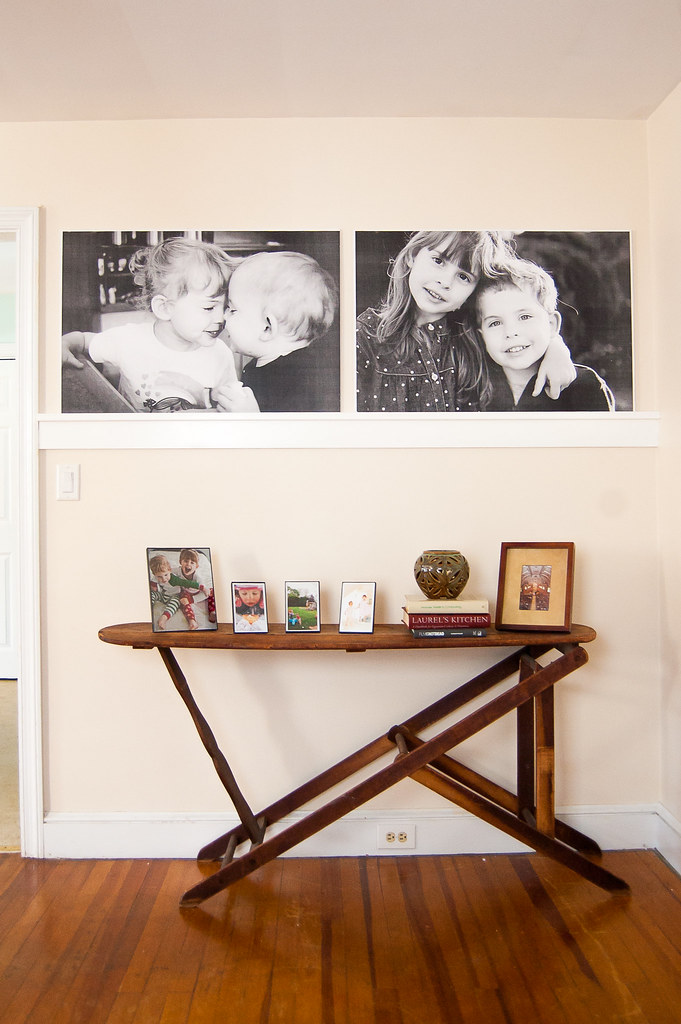
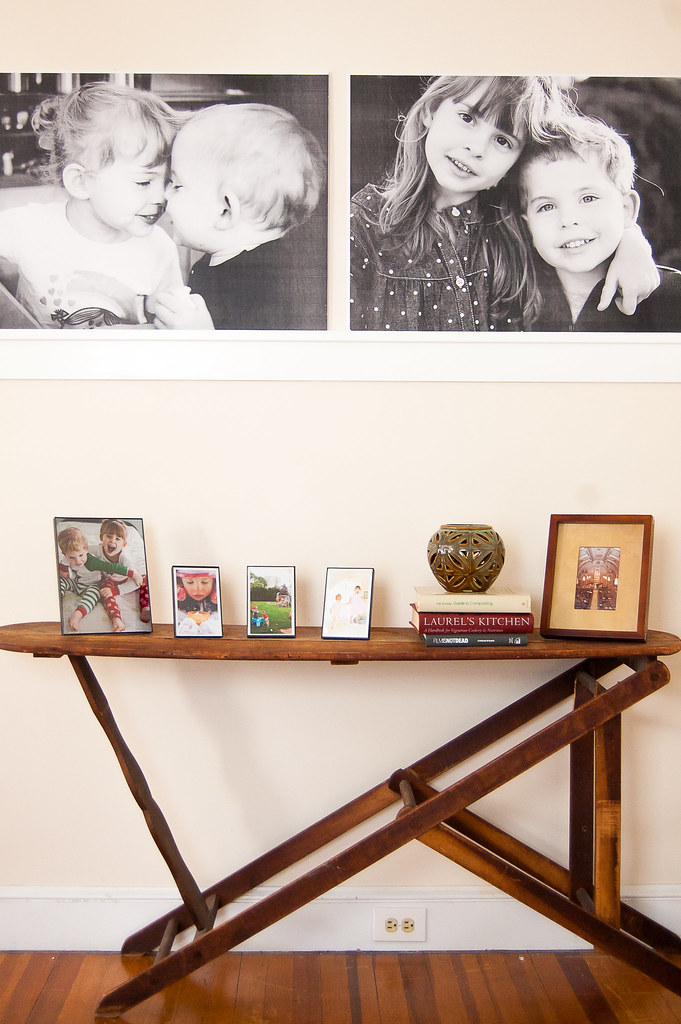
I pin a lot of things on Pinterest.  Probably too much, if I'm being honest, but it's fun!  I have a board specifically for my short list of projects that I ACTUALLY want to do and these huge engineering print photos have been calling my name for months.  Last summer, we put up ledge shelves in the entry and in the dining room, but because our downstairs is mostly just one big space, it felt like too much.  So we just sat on it and left the shelves empty for months while I dragged my feet.  I decided in the fall to get the photos, but just kind of sat on the photos for a bit, too. (Are you sensing a theme? Projects take time around here!)  We finally decided to take down one of the shelves about a month ago to make room for the big photos and left one ledge for these photos to rest on.  

Here's the general idea for how to make them:
- Choose your photos and make them black and white.  (If you're not sure how, picmonkey.com is really easy to use.)
- Save the files on a flash drive
- Measure where you plan to put them and determine the size you want (the shortest edge can be up to 48" wide)
- Take the saved files to FedEx Office (or your local printing/office store, that just happens to be the one closest to me) and ask them to print as an engineering print.  The guy at my store was super helpful in checking dimensions for me to make sure it would work. They were under $3 each for the size I chose. 
- Decide where/how you want to mount them.  You can do it at home on foam board or plywood with spray adhesive, but for not much more than it would cost to buy foam-board or plywood, I chose to take them to Hobby Lobby and have them dry-mounted on foam-board in the framing department.  Because the framing department wrote the total up as one item, I got to use a 50% off coupon for both and the total cost was just under $20 for the dry mounting.  That makes the total just over $25 for two huge pieces of wall art that are 36" x 24" each and I'm super happy about that!
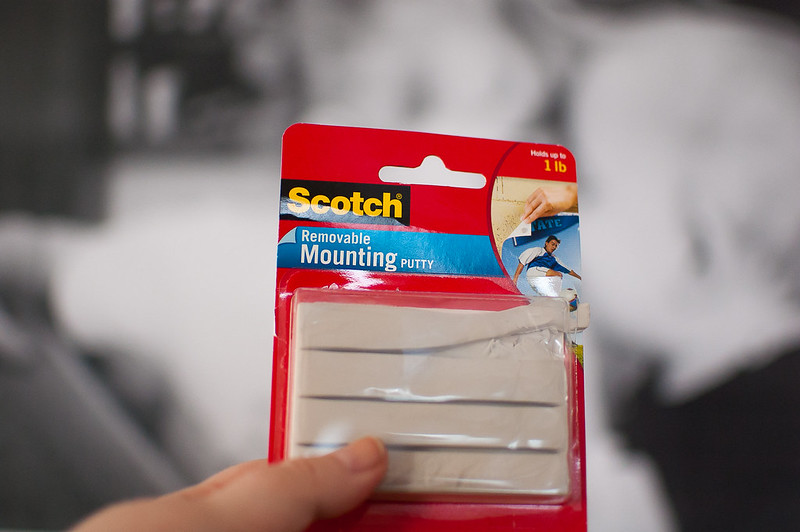
- A friend (Hi Molly!) who saw them was surprised that they didn't come home with hooks on the back, she said that she's had dry mounting done a bunch at Michael's and always gets picture hanging hooks on the back of them, so I might ask next time.  BUT, they're so light that I just got some mounting putty (the stuff you used in college to hang posters) and it worked like a charm.  Add some to the back and get them up on the wall and you're done!


Here are the posts I used for ideas and more detailed instructions if you're thinking of trying this yourself, they all have fantastic instructions and tips to help: 
-Huge Prints For Only $4 at Little Green Notebook

p.s. I finally made a Facebook page for the blog! 
Come Like the page! 

:Linking up to Grace at Home at Imparting Grace!:


*Please note: Some links are affiliate links.  


Merry Making: DIY Glitter Letters


This might be my favorite project so far this year.  There are a ton of methods out there and I planned to spray them with glitter paint, but then I forgot to buy the spray paint and wanted to just get them done, so I used what we had. 

You'll need:
Cardboard Letters (these were 50% off at Hobby Lobby and about $1.50 each, so $6 and change for tax total))
Glitter
Glue/Modge Podge
Paint Brush
Cookie Sheets
Parchment Paper


I really suggest the parchment paper for ease of cleanup and for ease in getting extra glitter back into the bottle - I didn't put any down on the cookie sheets and it became a big old mess. Using cookie sheets still kept it contained, but it was hard to get some of the glitter off of the sheets.

The method:  Paint the surface of the letter with glue or modge podge and go nuts with glitter.  Let it dry, then lift and tap off the excess.  That's it! 

I thought about sealing them with a spray of some sort to minimize glitter all over the place, but so far they're fine and I don't know how the letters would do with the spray.  I also didn't paint the sides and backs of the letters to minimize how much glitter could get all over the place and to have somewhere to hold while I moved them, packed them away, got them out, etc. You can see that the edges aren't perfect, but I don't care at all and this was tons easier than trying to turn letters to get specific crevices and sides and having different drying times.  They're fun, inexpensive and quick just like this - that's my kind of project!      


Merry Making: An Easy DIY Wreath Tutorial


Making a wreath has been on my list of things I'd like to do in life.  I don't really know why, I've just wanted to, especially knowing how much it would cost to buy a fresh wreath for the door vs. a wire backing and some floral wire. I've always assumed it was some major, complicated task until I started to research a bit this year after checking out prices on real wreaths.  So I've been keeping my eyes open for trimmings and gathering supplies. I searched a bunch and, of course, there are so many ways to make a wreath.  This struck me as easiest, so I'm going with it.  

You'll Need:
Floral Wire
Clippers or Scissors
A Wreath Backing (wire is best for outdoors)
Greens that make you happy (I used trimmings from our boxwoods)

The method: I made bunches of the green first that were generally the same size, wrapping the bottoms as tightly as I could with floral wire, then started to assemble.  I'm good at doing one thing at a time, so it felt logical to make lots of bunches, then tie them all on to see how they looked.  It also feels better to show you with photos since it's not overly complicated.  Tie bunches together, then tie onto the wire frame, overlapping bunches as much or as little as you want. The bigger you make your bunches and the more you overlap them all, the more full your wreath will be.  Wrap them at tightly as you possible can, rearrange as needed.  Accept imperfection, it's kind of the name of the game.  I left mine mostly wild, but trim away if you like yours to be more neat and tidy. 

Greenery
floral wire, scissors and wreath frame
boxwood bunches
Boxwood bunches

back of the wreath
p.s. Bows also weren't nearly as scary as I thought they'd be and I was sold on trying them myself when I went to Michael's and realized that I could buy one for $6.99 or an entire roll of ribbon to make at least a dozen of my own for the same price.  This post and this post were the two most helpful things for me as I figured out how to make them.  

Merry Making: Past Projects

Sharing some favorite Merry Making projects from past years today.  I tend to stick with projects that don't require much time and money and definitely don't require a ton of work.  Enjoy and please share in the comments if you have favorite of your own to share! 

I tried a few different methods and figured out a quick easy method to throw
together a treat when I need one to enjoy at home or bring somewhere! 


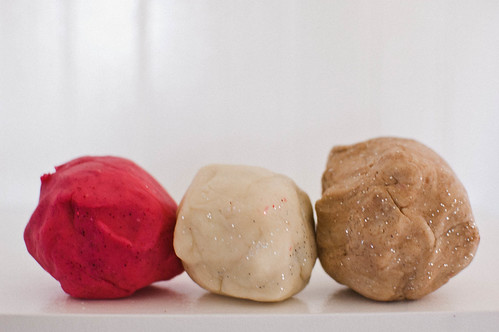
I'm pretty sure I like making our own play dough at least as much as the kids do.  
It's so easy and fun and there are a million ways that you could make it 
feel more holiday or winter themed. 


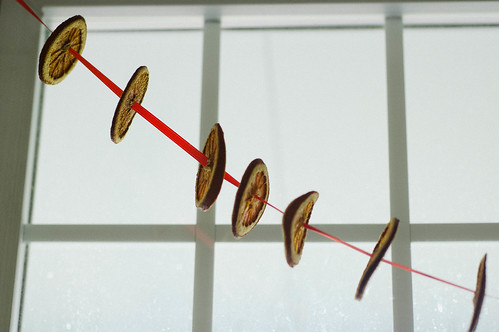
The pomanders in this post didn't work out so well, but it was error on my part
and still a project I've done again.  Be sure to use enough cloves and 
be sure not to burn your orange slices in the oven while they bake! 


I'm not saying that you should do all of these, just throwing out some ideas! 

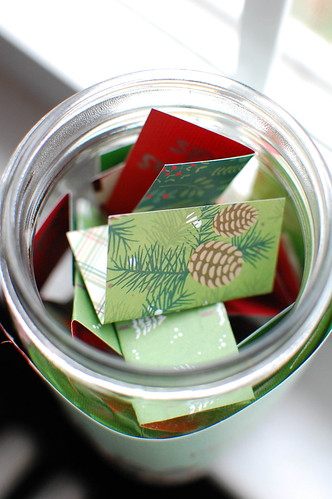
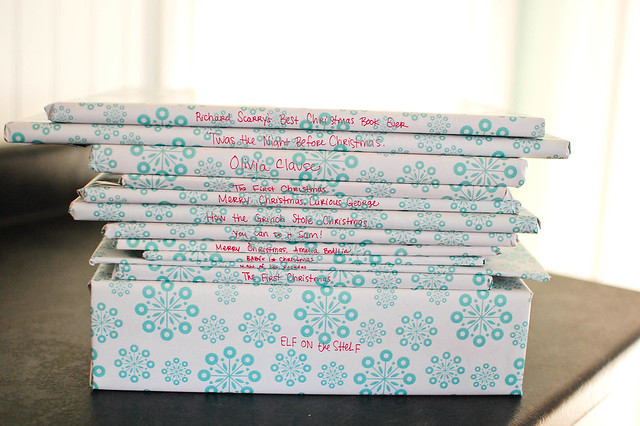
One of our favorite things to do now.  We're not too strict about it, but the kids love to 
try to guess what book it is (I label them for myself in case there's one I want to find)
and Mia's thinks she's super awesome this year since she can read the 
titles, too, and feels like she's in on a secret. 


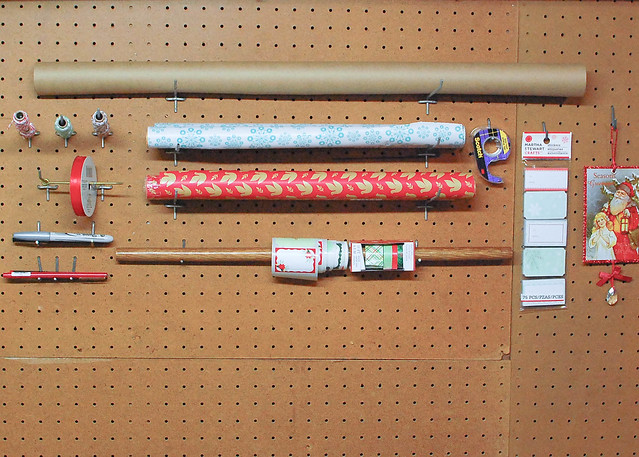
I keep this up all year round now, it's SO nice to just keep all of the paper and pens and 
labels and tape and a pair of scissors in one spot and not hunt in 500 places every time
I need to wrap something! 

Day 29: Photo Capture Traditions


It's become a tradition, every special occasion (and a lot of random days) now go like this: We go outside.  They stand in their spot, because they know "the spot" now.  She tries to strangle him with her arm around his neck, he tries to knock her over with his arm around her waist.   I tell them to smile and it'll be done faster and offer a bribe of some sort, usually gum. They pull it together while laughing at one another.  I let them jump and they're happier.  Halloween, First Days of School, random days that we're out and about, they've become a tradition that I could probably fill a book with (maybe some day I will??) But it works.  And they know what to expect and I'm happy to have photos of them together.  

What photo capture traditions do you have at your house? 


I'm spending 31 days writing and sharing a series about Documenting Your Everyday this month.
 Click here to see all of the posts as they're added and follow along.