
Here's the general idea for how to make them:
- Choose your photos and make them black and white. (If you're not sure how, picmonkey.com is really easy to use.)
- Save the files on a flash drive
- Measure where you plan to put them and determine the size you want (the shortest edge can be up to 48" wide)
- Take the saved files to FedEx Office (or your local printing/office store, that just happens to be the one closest to me) and ask them to print as an engineering print. The guy at my store was super helpful in checking dimensions for me to make sure it would work. They were under $3 each for the size I chose.
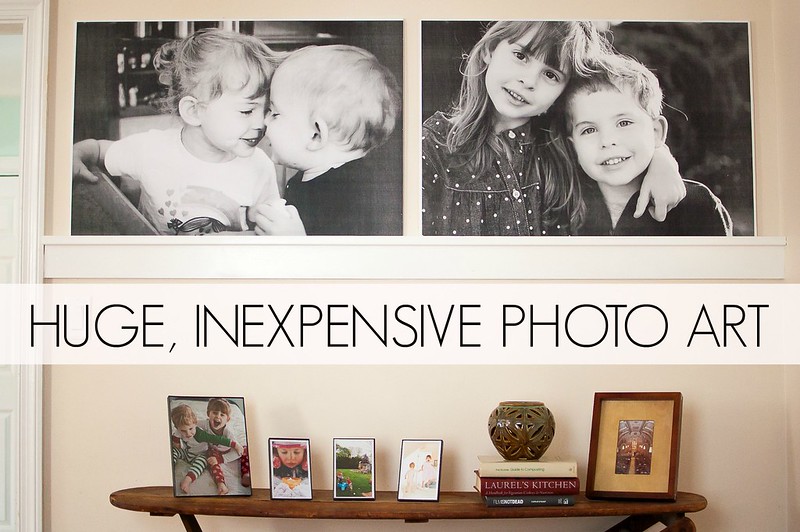
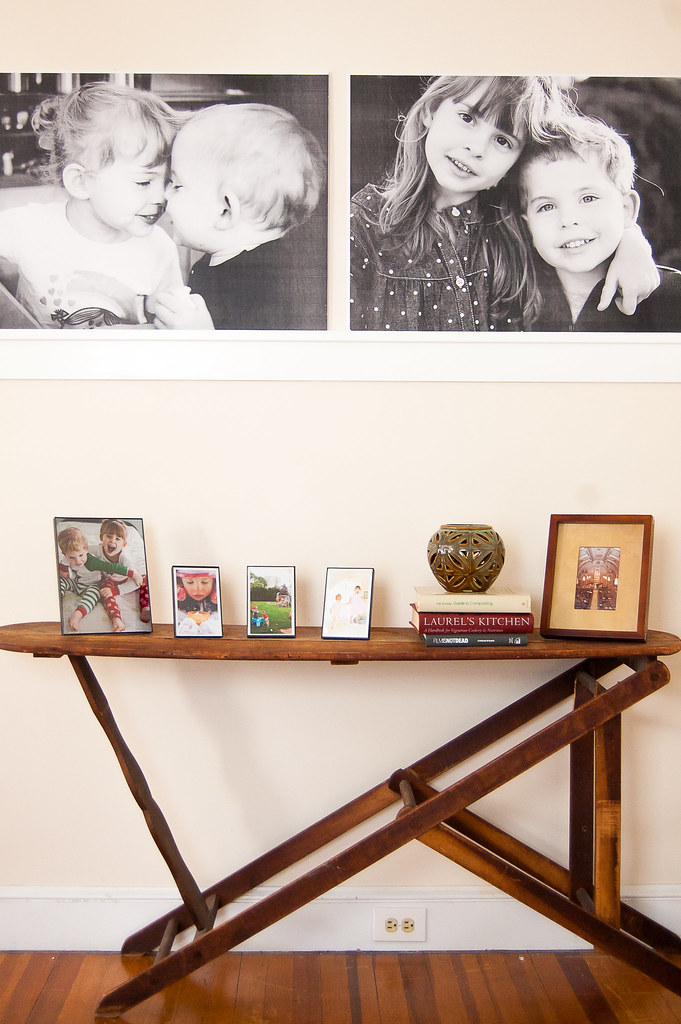
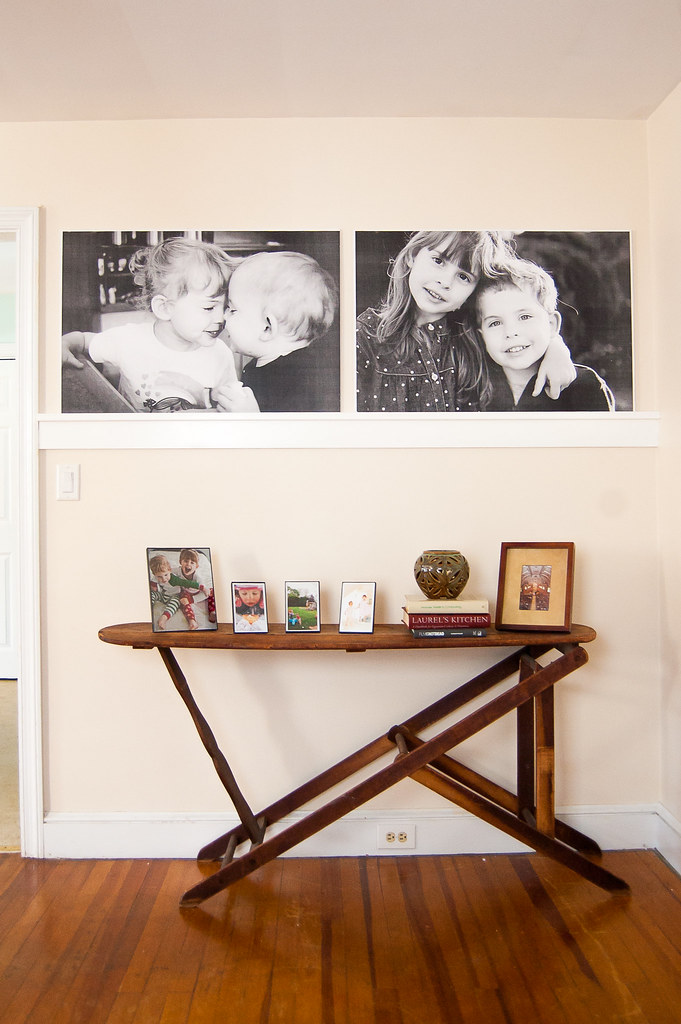
- Decide where/how you want to mount them. You can do it at home on foam board or plywood with spray adhesive, but for not much more than it would cost to buy foam-board or plywood, I chose to take them to Hobby Lobby and have them dry-mounted on foam-board in the framing department. Because the framing department wrote the total up as one item, I got to use a 50% off coupon for both and the total cost was just under $20 for the dry mounting. That makes the total just over $25 for two huge pieces of wall art that are 36" x 24" each and I'm super happy about that!
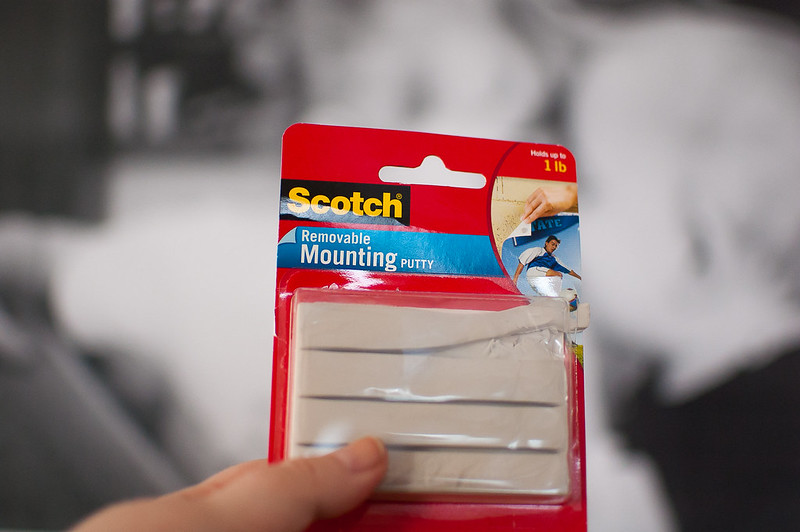
- A friend (Hi Molly!) who saw them was surprised that they didn't come home with hooks on the back, she said that she's had dry mounting done a bunch at Michael's and always gets picture hanging hooks on the back of them, so I might ask next time. BUT, they're so light that I just got some mounting putty (the stuff you used in college to hang posters) and it worked like a charm. Add some to the back and get them up on the wall and you're done!


Here are the posts I used for ideas and more detailed instructions if you're thinking of trying this yourself, they all have fantastic instructions and tips to help:
-Giant Picture Tutorial and Giant Picture For Cheap (Take 2) at Sugar Bee Crafts
-Huge Prints For Only $4 at Little Green Notebook
p.s. I finally made a Facebook page for the blog!
Come Like the page!
:Linking up to Grace at Home at Imparting Grace!:

*Please note: Some links are affiliate links.
p.s. I finally made a Facebook page for the blog!
Come Like the page!
:Linking up to Grace at Home at Imparting Grace!:
*Please note: Some links are affiliate links.


I love these-thanks so much for sharing this!
ReplyDeleteThanks Sharon!
DeleteGORGEOUS! This is fantastic Lillian! Of course, you know I'm a huge fan of your work, but the entire aesthetic is fantastic here! Wow. (still unable to sign in) Dawn
ReplyDeleteThanks Dawn!
DeleteLooks amazing! I love those photos of your babies and it looks beautiful in that place. Thanks for sharing! Maggie
ReplyDeleteThanks Maggie!
DeleteLooks Amazing, Lillian!! Great work! I think I need to do this with the b&w you took of E & H at their play kitchen :) - Christina
ReplyDeleteThat one would look awesome Christina!
DeleteThose are adorable! I need to do this...do you know if you can do color...or does it have to be black and white?
ReplyDeleteHi Krissa! It does have to be in black and white because there's not a color printing option with the engineering paper. Hope that helps!
DeleteWow! This is fabulous! Usually to get something half that size would be twice as much money from a photo place. Great job! (Stopping by from Nicole's Pinterest to Real Life)
ReplyDeleteThanks so much for stopping by Joyce!
ReplyDeleteWow, they look great and I love the ironing board/sideboard, too. :)
ReplyDeleteThanks Nicole, that ironing board is my favorite!!
Delete